By Kevin Wenning – Kevin just finished a private tour that he organized through Southern Tuscany, here he shares some technical and easy to implement tips for taking great photos.
Have you ever been determined to come home with better photos from your vacation, only to feel overwhelmed and not know where to start? Even if you have a grasp of the technical and composition principles for a good photo, the tools can get rusty if we don’t use them every day.
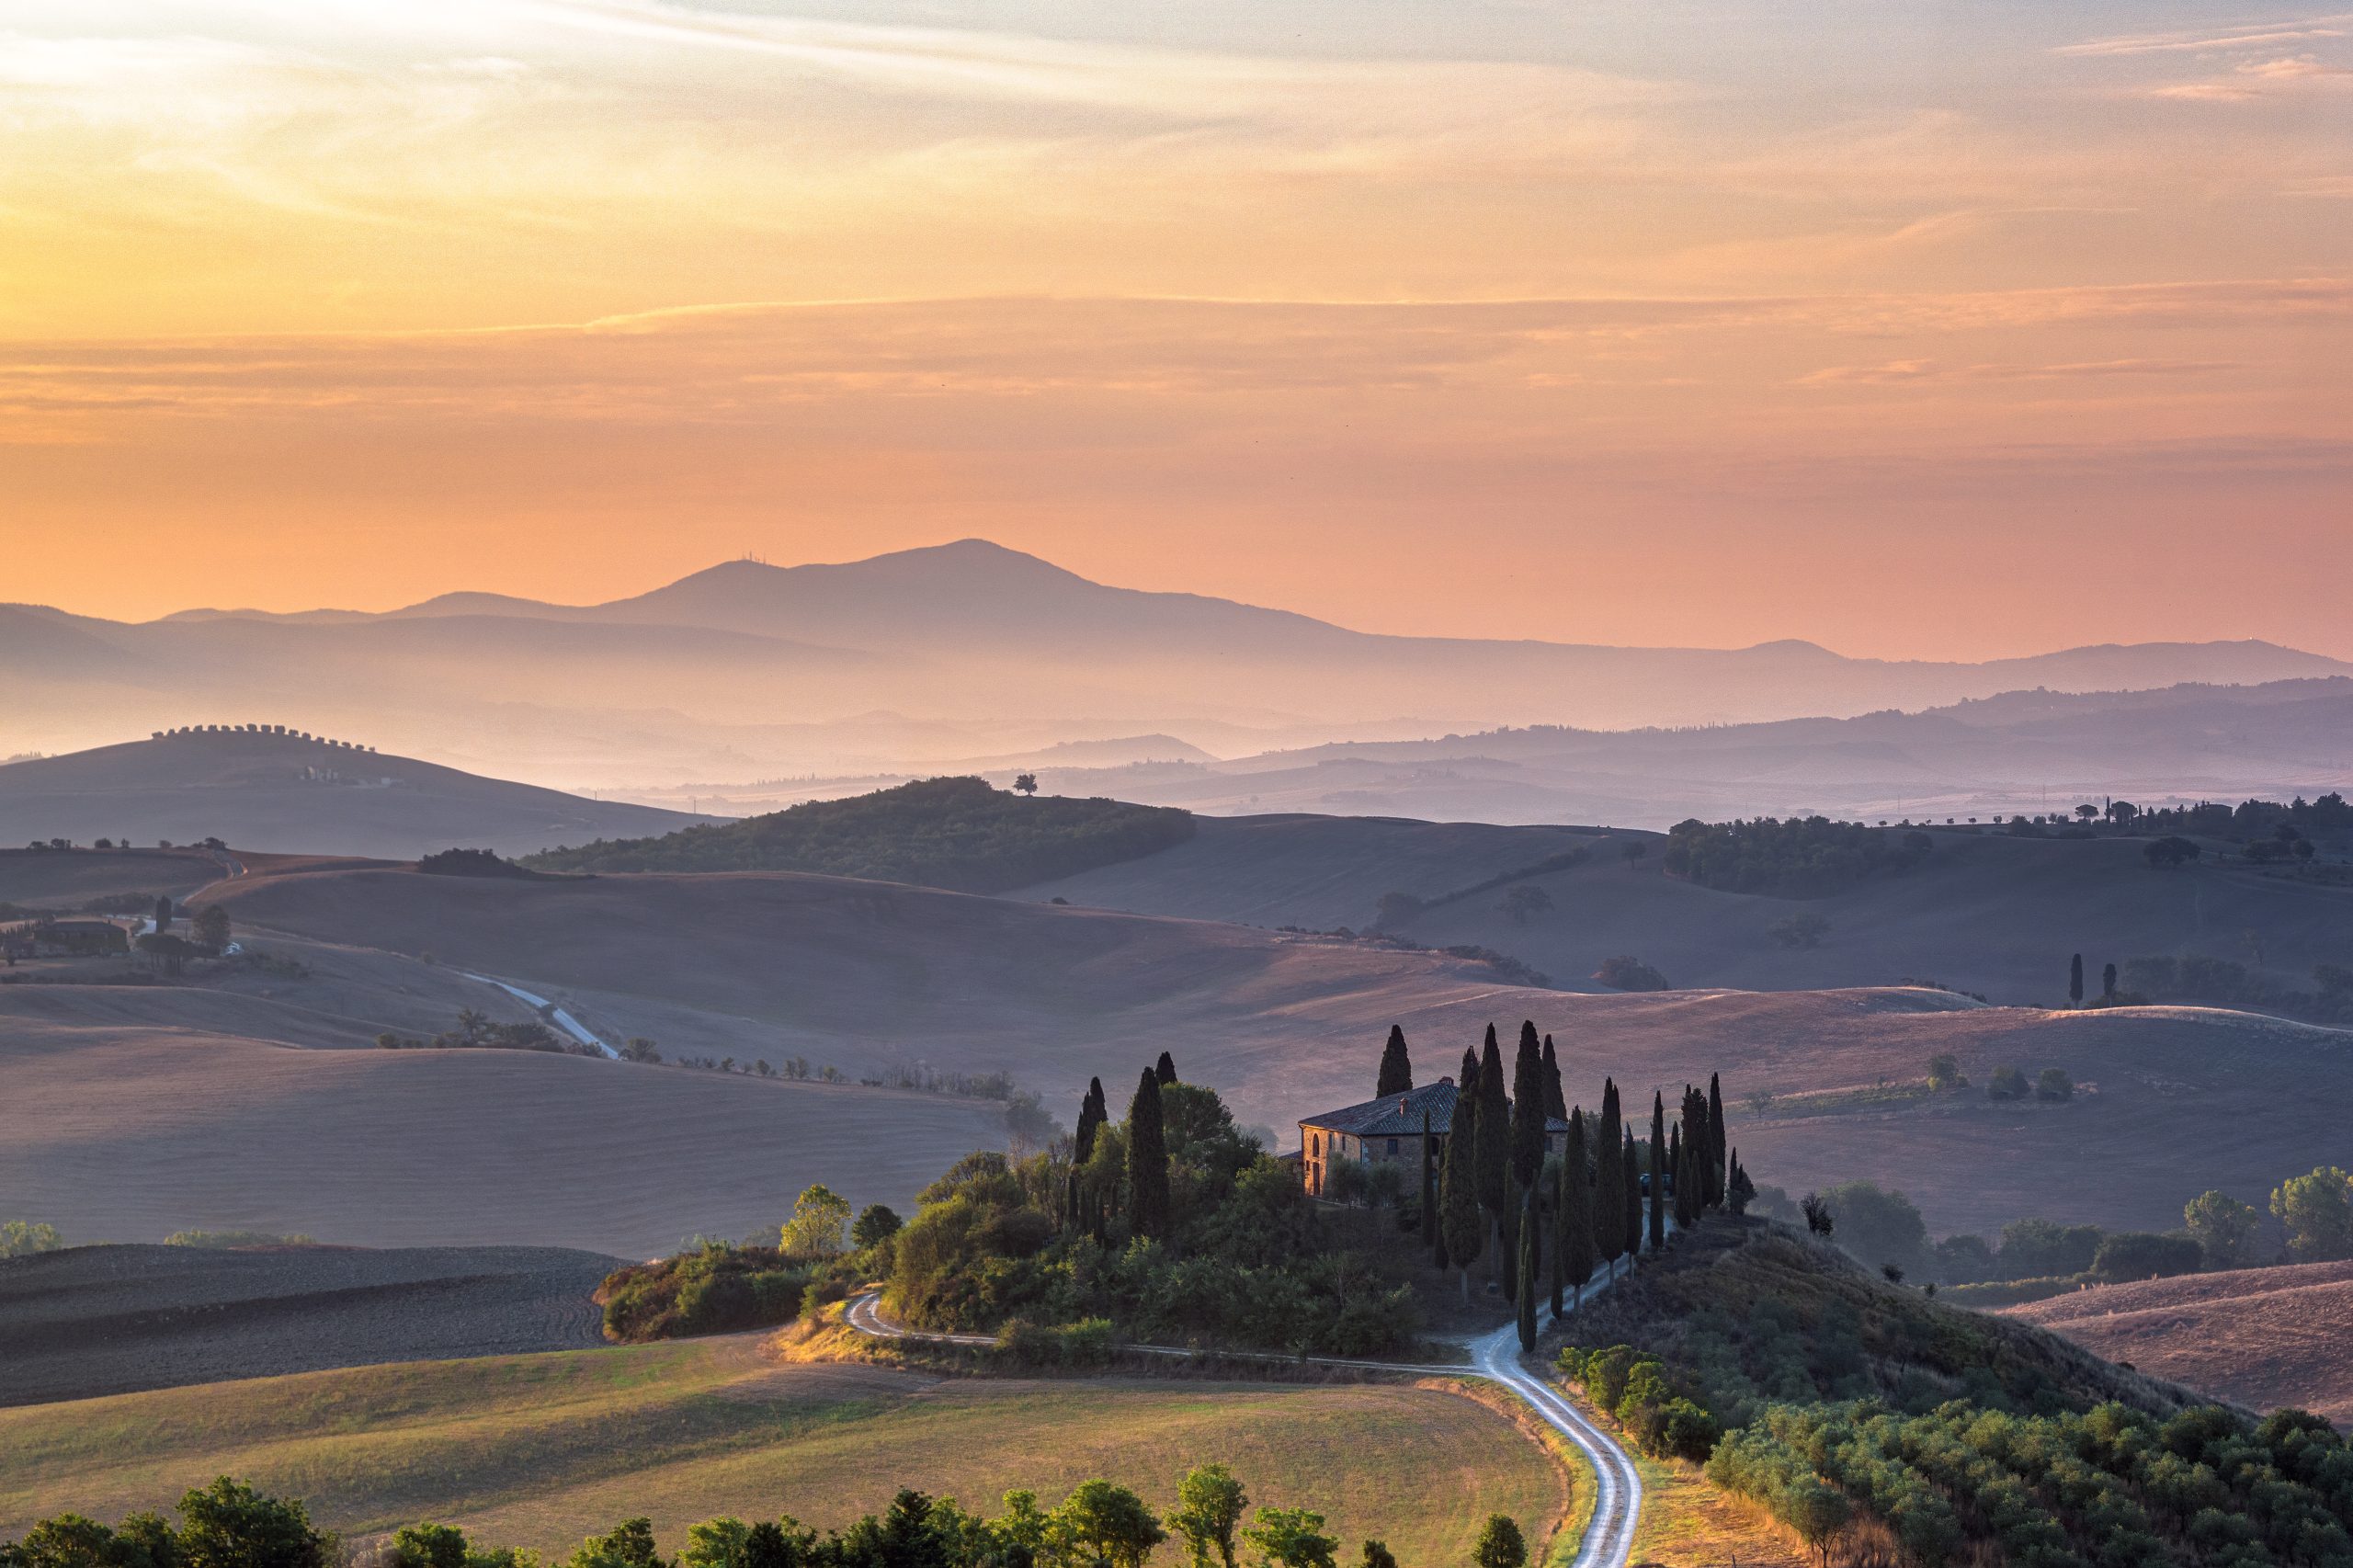
Everyone is capable of being a good photographer with a little practice. On a recent tour through Southern Tuscany with a group of photographers, we practiced a few key principles for consistently making stronger photos:
- Know what your subject is and make that obvious to the viewer. If you’re making photos of something that should be the largest and most important thing in the frame. If you’re making photos about something…see points 3 & 4 below.
- Remove distractions like street signs, cars, people, anything that doesn’t add to the narrative impact of your image.
- And then add something in the frame that strengthens the narrative. Take a few minutes to walk around your subject and find an interesting perspective or background to show a possibly familiar subject in a unique way. For example; instead of photographing your partner standing by a wall or a fence, put them against the background of the landscape you’re riding through.
- Feel your way to the photo. A snapshot only shows us “I was here and I did this thing”. A stronger photo can generate an emotion or sensation of how it feels to be in this place or doing this thing.
The video below addresses these four main points.
Auto Mode or Advanced Settings?
Starting with a strong sense of what you want to capture or the story you want to tell will get you more than 50 percent of the way to making a good photo. If you’re mostly photographing with a phone camera, chances are you’re never going to adjust the shutter speed or f-stop or exposure. Your primary concern is, “How can I make a good photo from what’s in front of me?”
The next question I usually hear is, “That’s great Kevin but I have a really nice camera. Which advanced settings should I learn to use?”
With travel photography we usually have just one chance to make a photo when we see something interesting. We are only going to pass this way once, and if we’re fumbling with camera settings for five minutes the light may change or the moment we wanted to photograph has passed. There is absolutely nothing wrong with using your camera on auto mode. I know, I’ll be kicked out of the classy photographer guild for saying that, but it’s true. When you don’t have a specific creative goal for the photo, use auto mode. It will give you a great image 95 percent of the time.
If you do want to master some key camera settings to make purposeful creative choices, shutter speed and aperture are the simplest and most useful ones to start with. Make sure your ISO is set to Auto and then select the S or the A on your camera function dial. You are picking the most important setting based on your creative goal and the camera is picking the other settings for proper exposure.
Shutter Speed
This is the S setting on your camera functions dial. We use this setting primarily to freeze something in motion or to show something in motion. A higher number is especially useful when photographing a friend riding past while you’re standing still or any other scene where something is moving quickly. To show this rider frozen in motion I used 1/640th of a second.
With this violinist on the streets of Florence I only needed 1/60th of a second to freeze the motion because he was standing in place and his arm was moving slowly. A slower shutter speed also lets more light into your camera so it’s useful for making photos in a dark room or at night.
An even lower number means your camera shutter operates more slowly to show something in motion. This is a fun creative choice that will require more practice to master.
F-stop
This is the A (aperture) setting on your camera function dial. Without getting too technical, aperture controls how much light your camera is gathering and also determines how much or how little of the subject you’re photographing is in focus.
Use an f-stop of 1.8 to 4.0 when you want just a small portion of what’s in front of your lens in focus like I did at this wine tasting in Montalcino. Viewer attention goes to the sharpest elements in the image and the blurry parts of the image are just there for context.
Also use an f-stop between 1.8 to 4.0 to gather more light for photos at night or in a dark interior like this crypt in the basement of the chapel at Castello di Brolio just outside of Montalcino, Italy.
Use an aperture of 5.6 to 8.0 or even higher to make more of the scene in front of your lens in focus. We usually use this for photos of landscapes and things that are well lit such as photos taken mid-day.
Learn More
To practice these concepts and get inspired to come home with great travel photos on your next trip download the free guide with photography exercises and explainer videos from Kevin’s travel photography website.
 Kevin Wenning’s photography has focused on studio, commercial and travel photography. He started Intentionally Lost to combine his passion for seeing the world through cycling and photography, as well as to experience the world with like-minded adventure travelers. Kevin currently focuses on photography as art. He consults with corporate clients to decorate office and home work spaces with employee art. Follow this link to learn more about the program.


